Creating ""Icon"" Kit
If you didn't come here through the mod page, I recommend first downloading the mod, using it, thinking about how it works, and then coming back here. Or don't, I don't really care. This will just cover how the mod works and it's probably better to have seen the mod first.
Initial Ideas
I thought of this mod about a week before Modtober started, after seeing the possible themes I knew "What the Heck!?" was going to win but I wasn't sure how to implement the mod yet.
My first initial (somewhat naive) approach was to map every single icon type onto every other icon type in one large sprite sheet, using a python script to generate the mapping textures. In hindsight I'm somewhat glad this didn't work out, I think it would have probably ended up making a worse mod and at that point you might as well just create a texture pack.
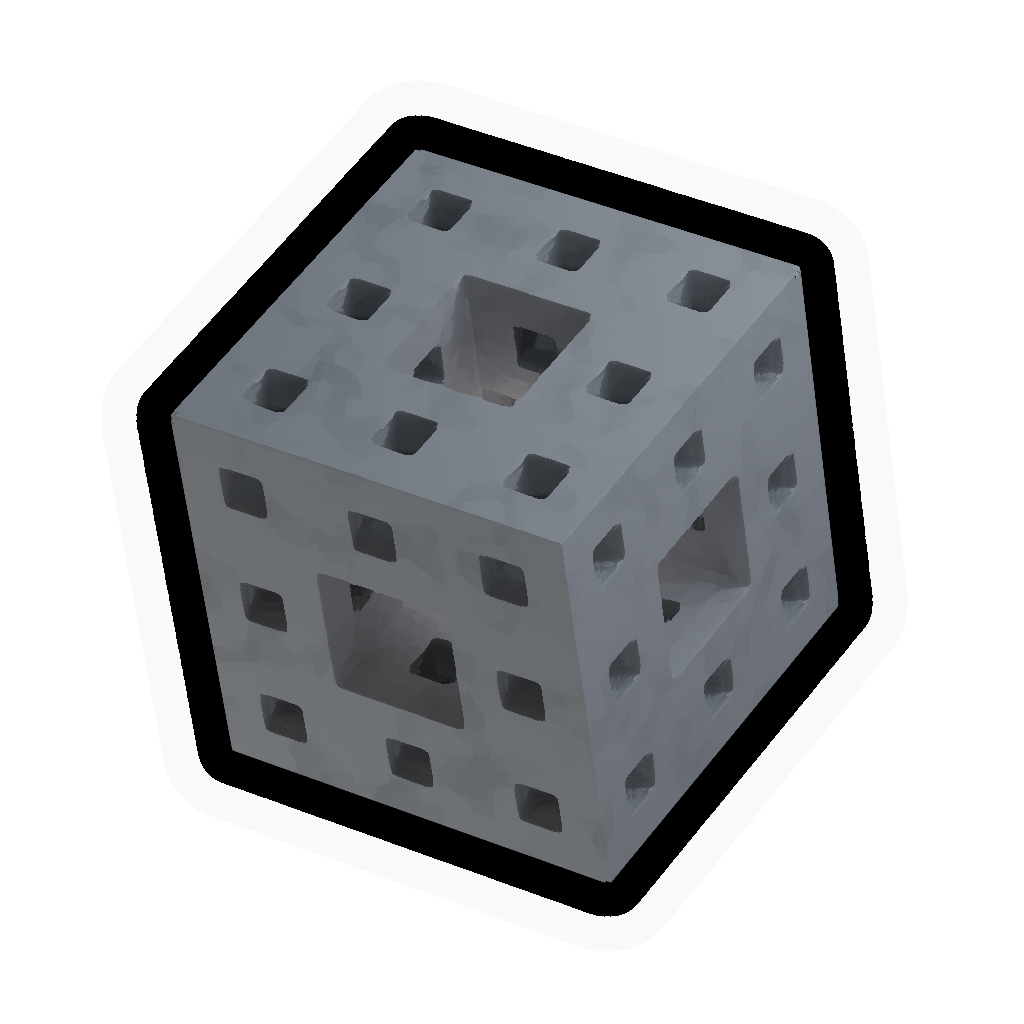
My second idea was actually the one I ended up using for the final mod, which was to create a mapping texture from a square texture to the actual shape of the icon. This assumes that every gamemode filled up the whole square of the icon but that ended up working out in the end even though some of them kind of didn't (this causes balls to be a bit wacky when mapped onto themselves, since the ball "cutout" is applied twice).
After this I actually thought of creating two mapping textures for each icon, mapping the icon shape to a square texture, and then the square texture back to a second icon shape. This would have worked a lot better and would have fixed the other issues but would also mean how to create mapping textures for every icon in the game (since not every icon for a gamemode is the same shape), which was not happening.
Implementation
I began by creating the icons in Blender which was my second idea after figuring out that I was in fact not smart enough to make a Python script to generate mapping textures, even from basic shapes. I already knew what I was going to do to do this which was to create icons by manipulating the vertices of a square which would already have had UVs that completely fill up the texture area, meaning when they were rendered out, the square UVs would be warped into the icon shape.
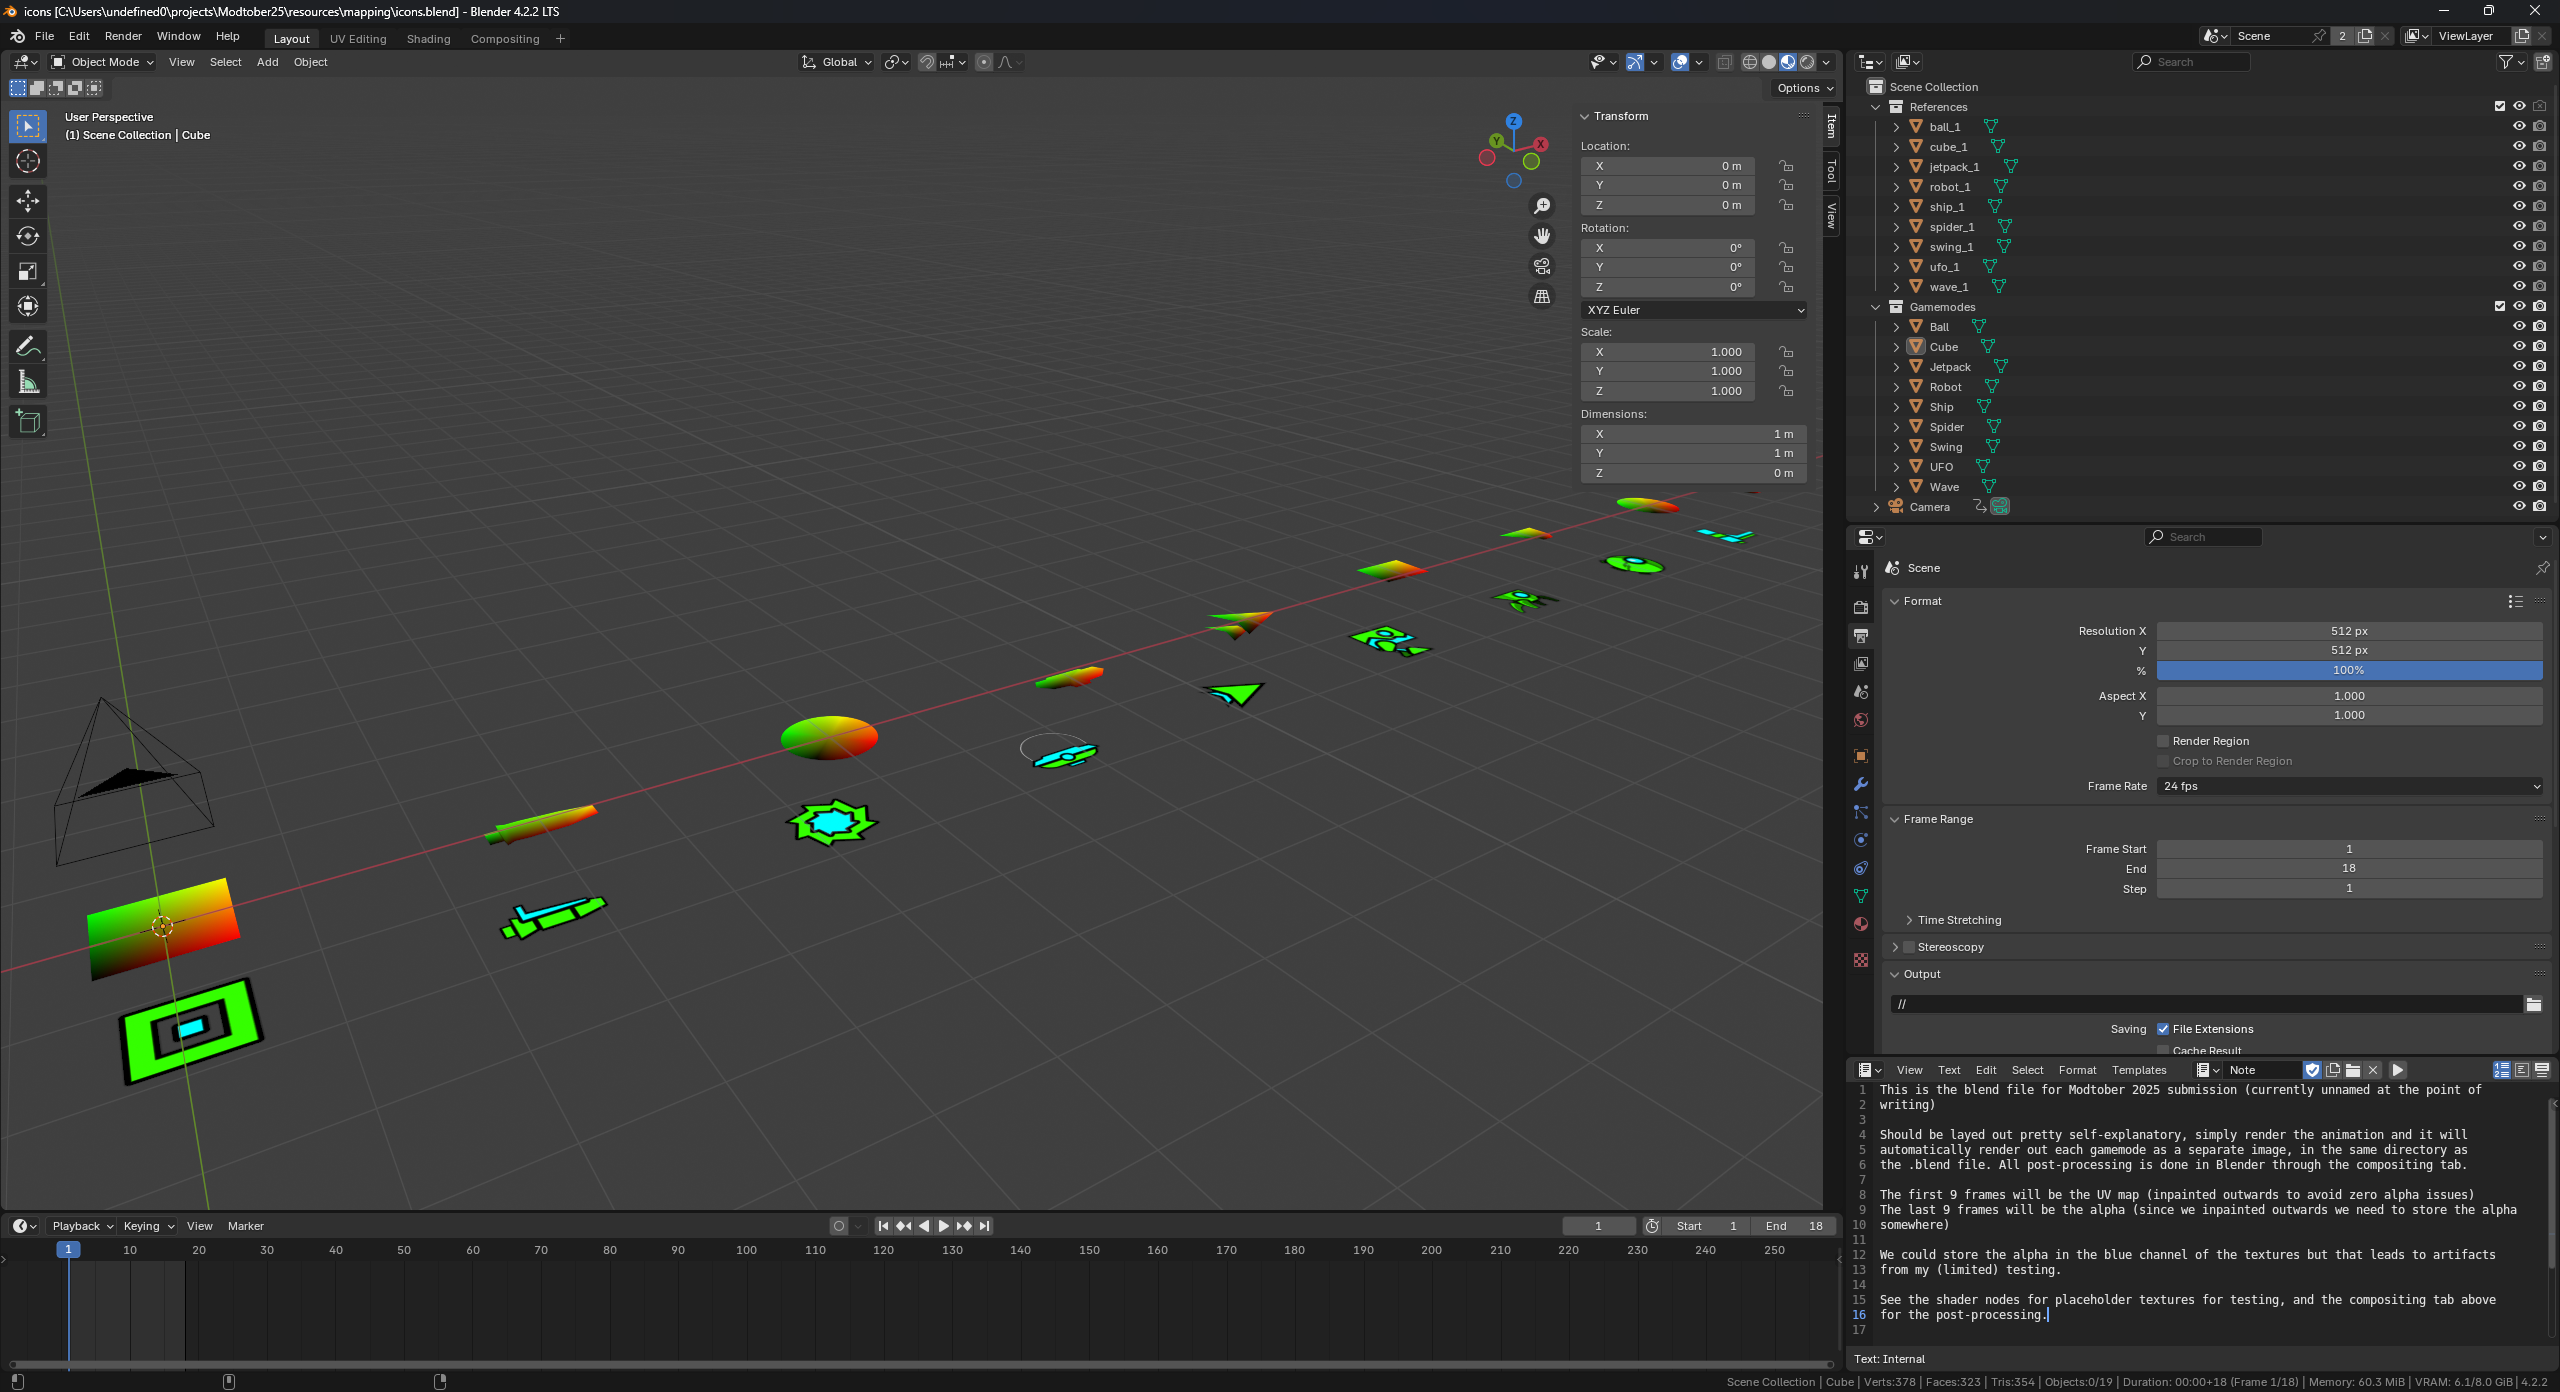
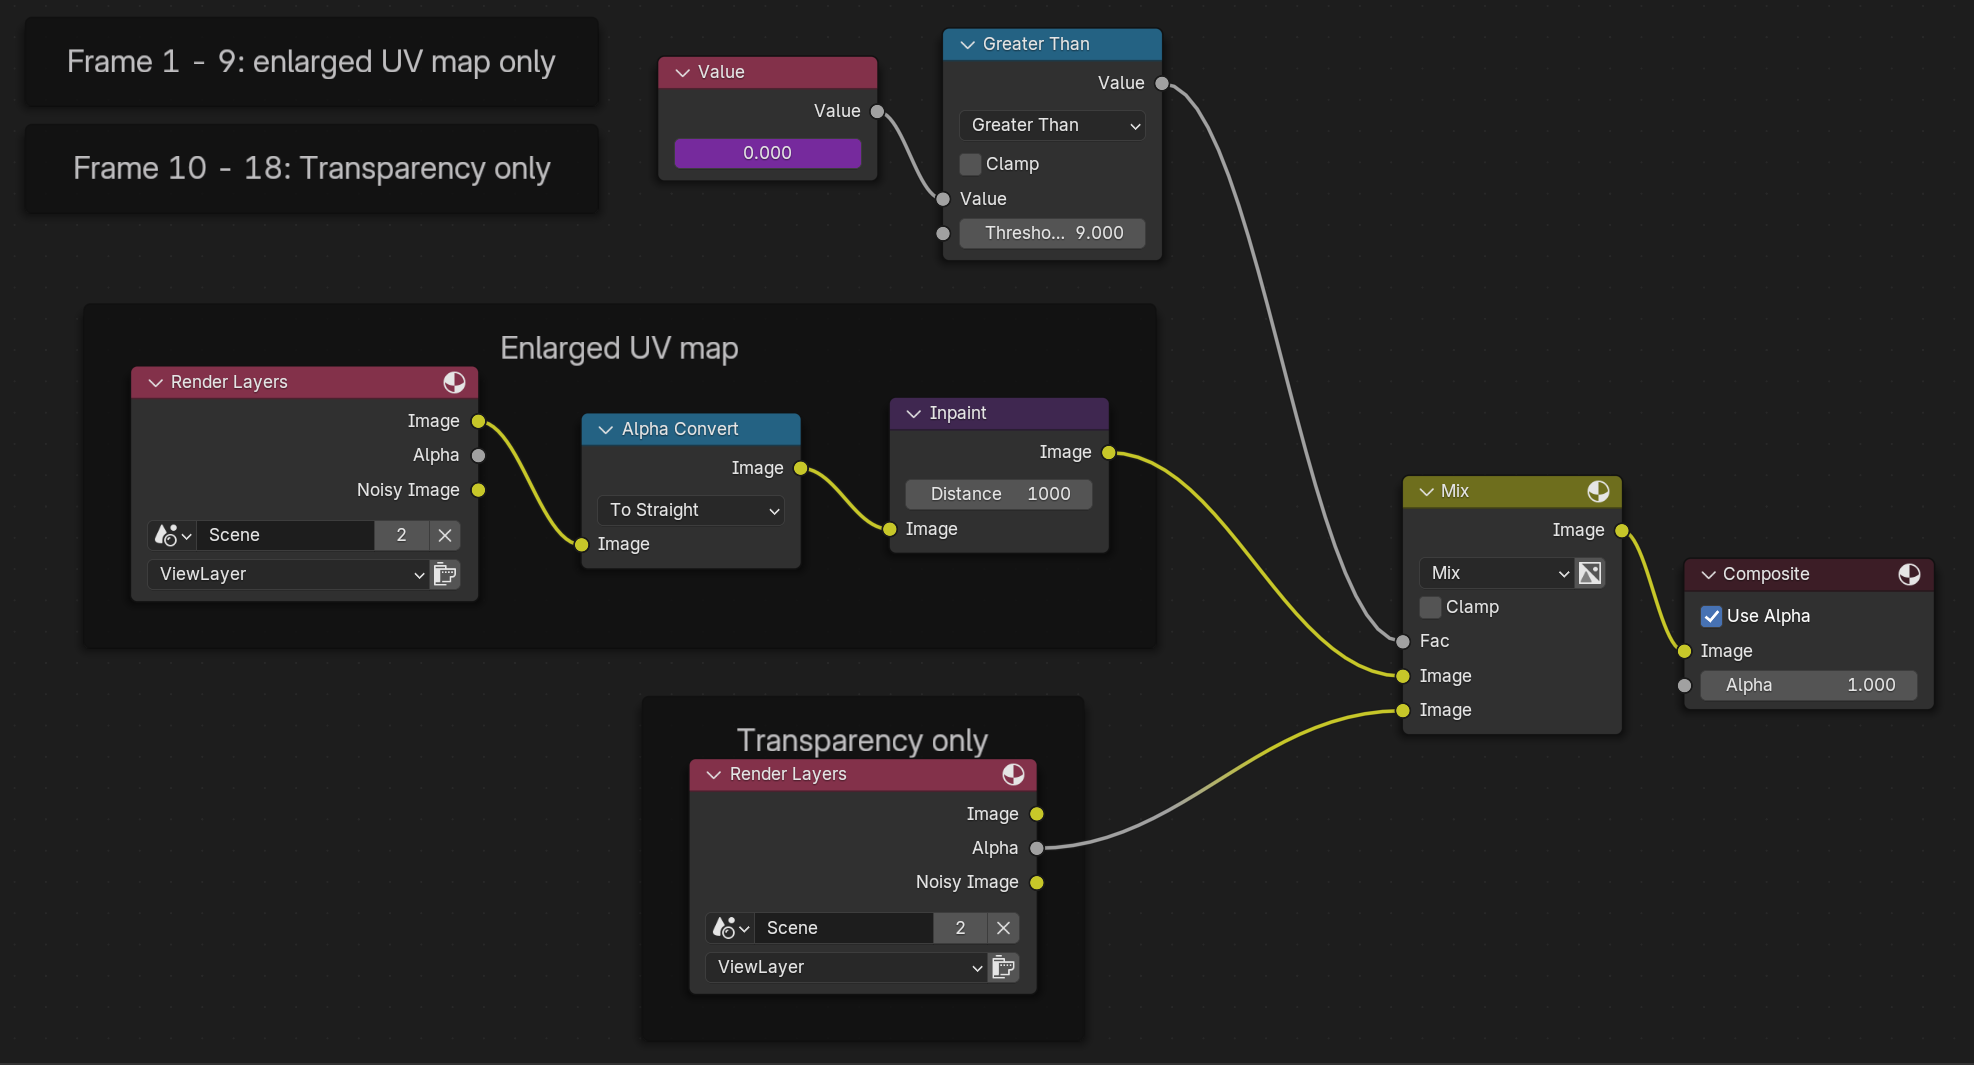
This was surprisingly more effective than I thought it would be especially for complex icons like the UFO which I thought I would have to edit by hand afterwards in Photoshop, but I managed to condense the whole pipeline into a single blend file which I could render as one animation.
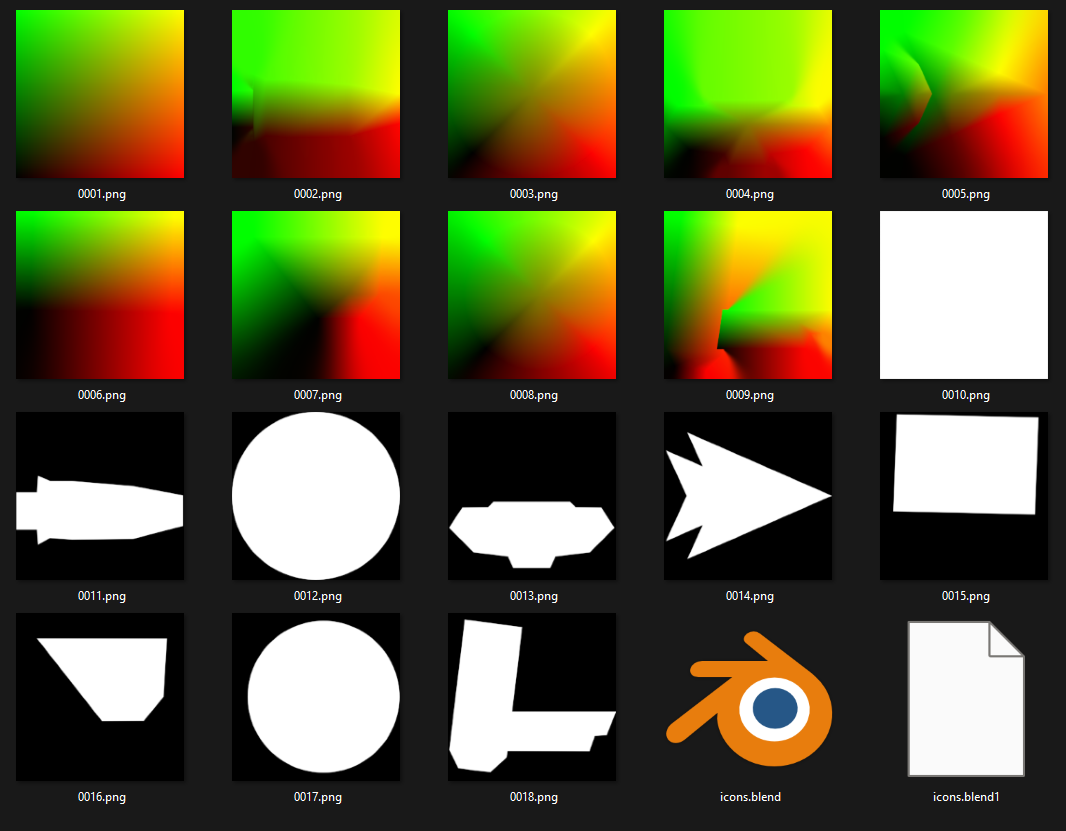
I had a lot of issues with the alpha channel and the red and green channels to do with alpha premultiplication, since the images were rendered with pre-multiplied alpha which meant at the edges the red and green channels would be lower than they should be. This caused artifacting at the edges and led me down a long rabbit hole that took quite a while to sort in the end. Sadly, my final solution was to separate alpha into a separate texture, which did double the amount of textures the mod had to have and the final file size, but it was worth it to reduce artifacting.

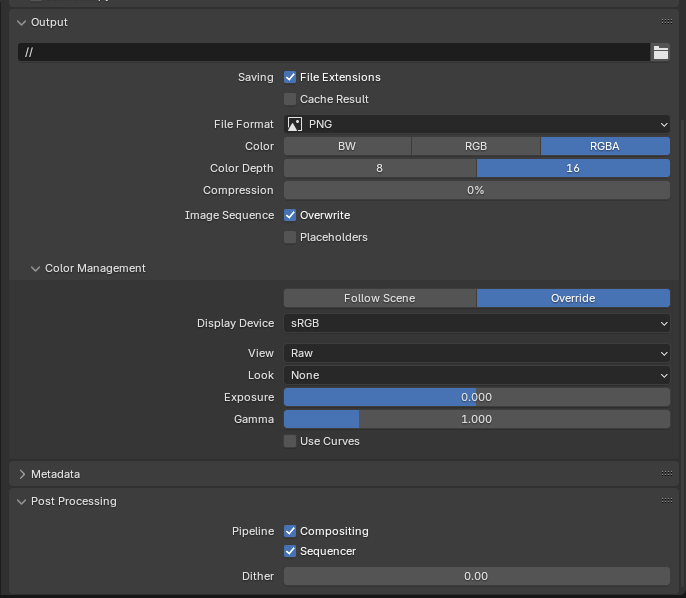
Initially the images were rendered at 256x256 resolution, which looked alright, but before Modtober ended I ended up doubling the resolution to 512x512 and rendered with 16 bit colour to reduce noise, which looked better and didn't have any noticeable performance impact (surprisingly, cocos is fine with 16 bit images, who knew?)
For fun I also tried a 4k texture which was extremely smooth and removed some artifacting to do with noise from the Blender output, and I would have loved to keep it in the final mod, but it increased the mod size to 2 gigabytes and took 20 seconds to load, which I don't think people would have liked.
For actually modifying the player object there isn't an easy way to do this, so I copied the More Icons way of doing it which is to hook every single function that could modify a player object. I was recommended a method after the fact which is just to hook PlayLayer::postUpdate and do all my setting of stuff in there, which would have actually worked fine and perhaps would have been a better solution, but I'm stuck with this now.
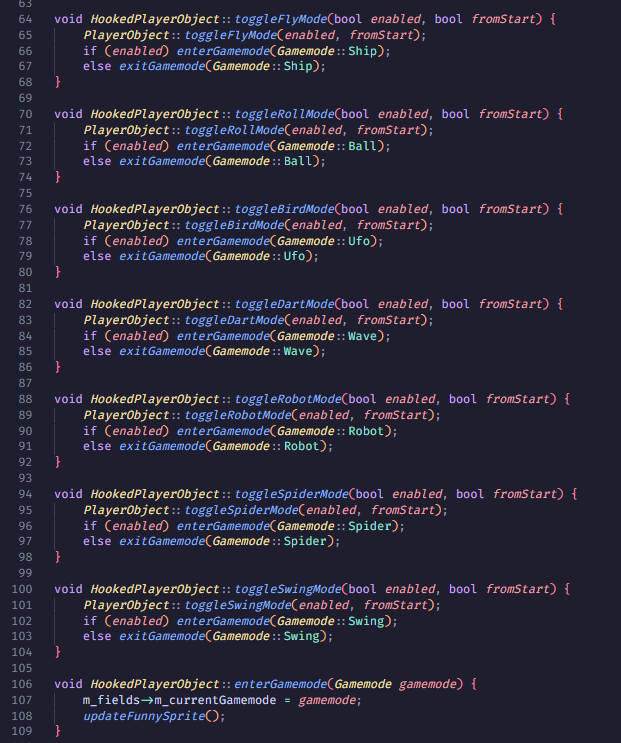
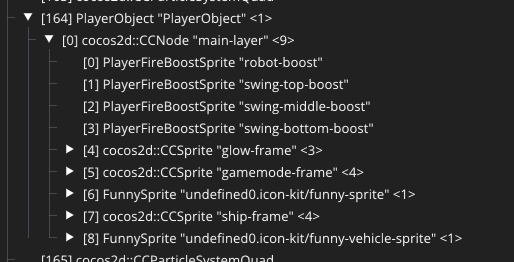
I then hide the original sprites and add my own custom sprites on top. I have to patch the batch node of robot sprites and spider sprites (which was taken from Icon Gradients, thanks Zilko!) to ensure my own sprites can render without using the texture from the batch sprite, and then in an update function every frame I can swap out the texture that my custom sprite is using. I slap a UFO dome on top and that's basically the entire mod.
To actually map sprites using the mapping texture I use a shader as you'd probably expect:

And believe it or not if you search GitHub this is the only cocos shader that uses CC_Texture4, so unless people are naming their textures reasonable names, this is in fact a world record for the most bound textures on a cocos shader at a whole whopping five (5) textures, and I'm awaiting my letter from Guinness World Records to confirm it.
The shader is pretty simple, I use the original texture coordinates to sample in to the mapping texture and then uses those colours to then sample into the texture that should have been rendered before the texture that should have been rendered before is simply the SimplePlayer that the player has currently selected (prerendered on mod load and when you exit the icon kit).
To animate between icons I simply pass in a second texture and a uniform float of the blending between each texture. This was a lot more effective than I thought it would be, and it worked very well.
Bugs
There ended up being a lot more bugs and incompatibilities with this mod than I would have initially thought, a lot from the fact that there isn't a great way to modify SimplePlayers and PlayerObjects on the same frame that they're created, since RobTop doesn't set every property at once, and instead sets them after. This leads a lot of mods like Fine Outline and Icon Gradients to queue their modifications in main thread which means I can't capture the SimplePlayer on the same frame it's created. The final fix was to just ignore this! This is truly not an issue I really care about enough, and the mod is not compatible with them, though they do manage still to edit the robot and spider legs.
Another bug was iOS in general, which didn't play nice with my render textures and swapping the frame buffer 20 times in 1 frame (thanks Jasmine for helping fix this!). the fix in the end was I didn't really know actually, just to not reuse the rendertexture and instead just store the texture. No clue what was actually fixed that actually fixed the issue but whatever it does work on iOS in the end, so hope the whole two iOS geode users out there have fun with this joke mod.

A somewhat silly and lesser noticeable bug was the fact that the ghost trail effect on the player actually pulls from the texture that the player is rendering (since PlayerObject inherits CCSprite). Since I completely ignore everything that the player renders and hides all of it the trail was still set to the original trail. All I had to do to fix this was simply swap out the texture bound to the CCSprite of the PlayerObject to my own custom rendered texture which did add another 10 textures loaded in memory though at a lower resolution, which probably isn't the best solution but it ended up working fine in the end.
Conclusion
in conclusion you should download the mod thanks bye